
Anycubic 4Max Flexion HT X-Carriage
Description
This is a remix of Turbo78 Anycubic 4Max X Carriage in order to install a Flexion HT kit on an Anycubic 4Max Classic. In order to install this X-Carriage you will need a few items: - 12 6mm M3 screws - 4 10mm m3 screws - 1 silicone extruder cover - 1 39mm ptfe tube - 2 plastic washers - 2 metal washers ## **Instructions** Cut the silicone cover in order to fix the base where the heat block will rest on the x-carriage, this will provide insulation from the heat block in order to prevent it from melting/warping the x-carriage when printing ABS, PETG, or any other high temp filaments.  Make a hole in the silicone cover in order to pass one of the 10mm M3 screws, use a plastic washer followed by a metal washer in order to provide more insulation.     Install the heat block   Install the top by using 4 6mm screws 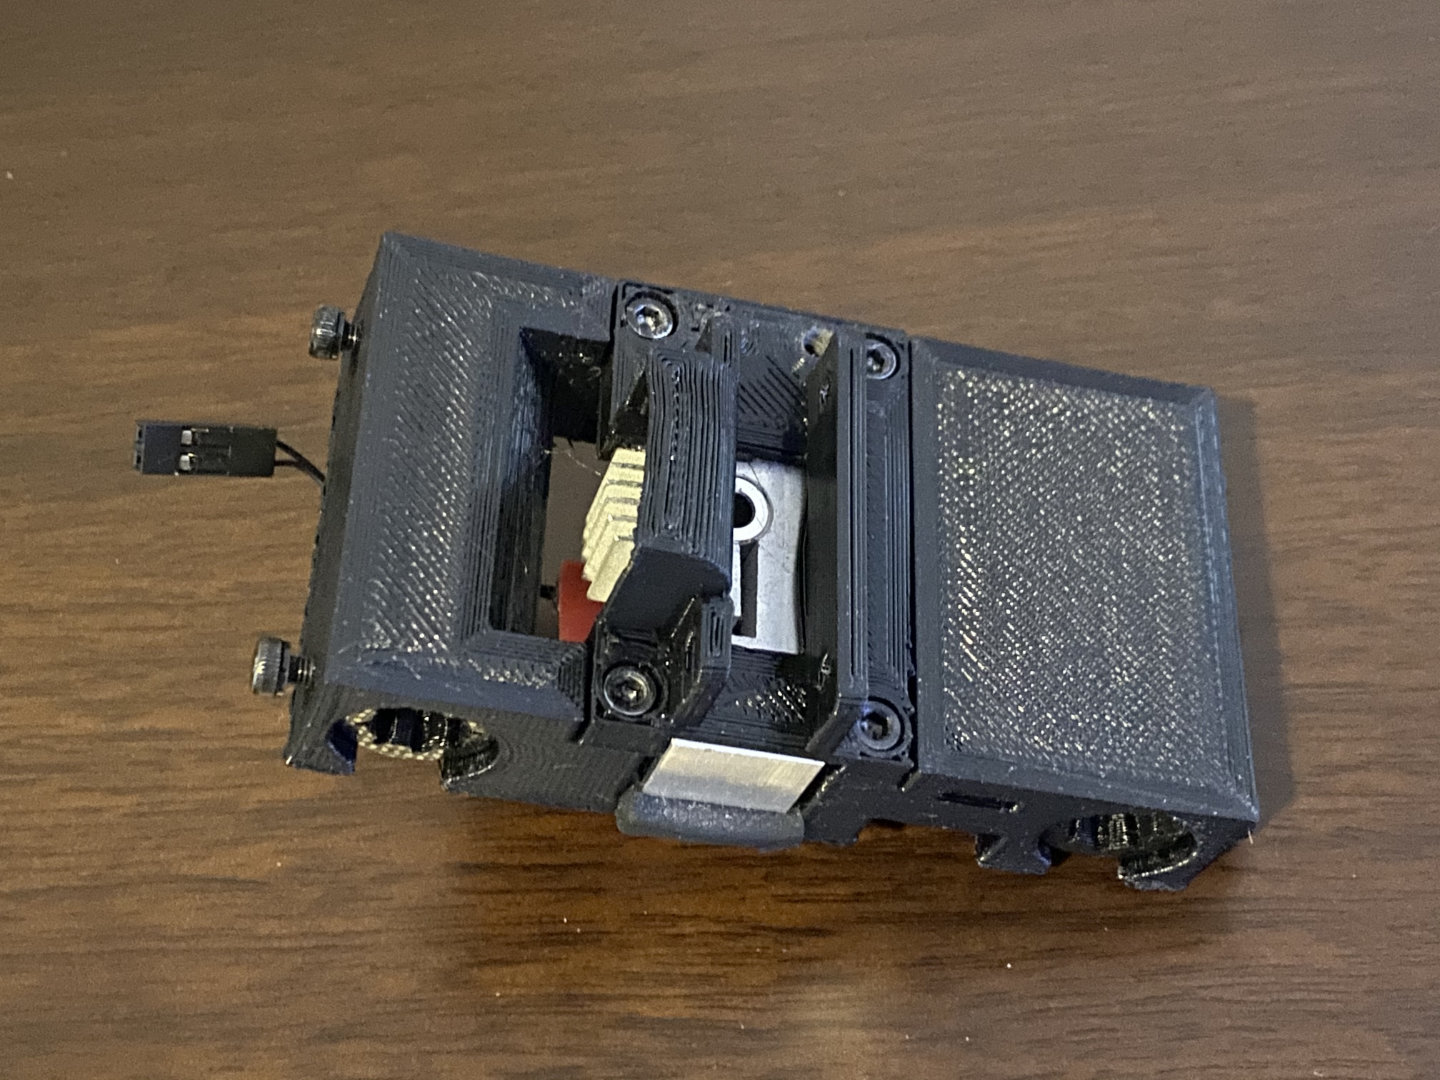 Install the X-Axis belt using 4 6mm M3 screws 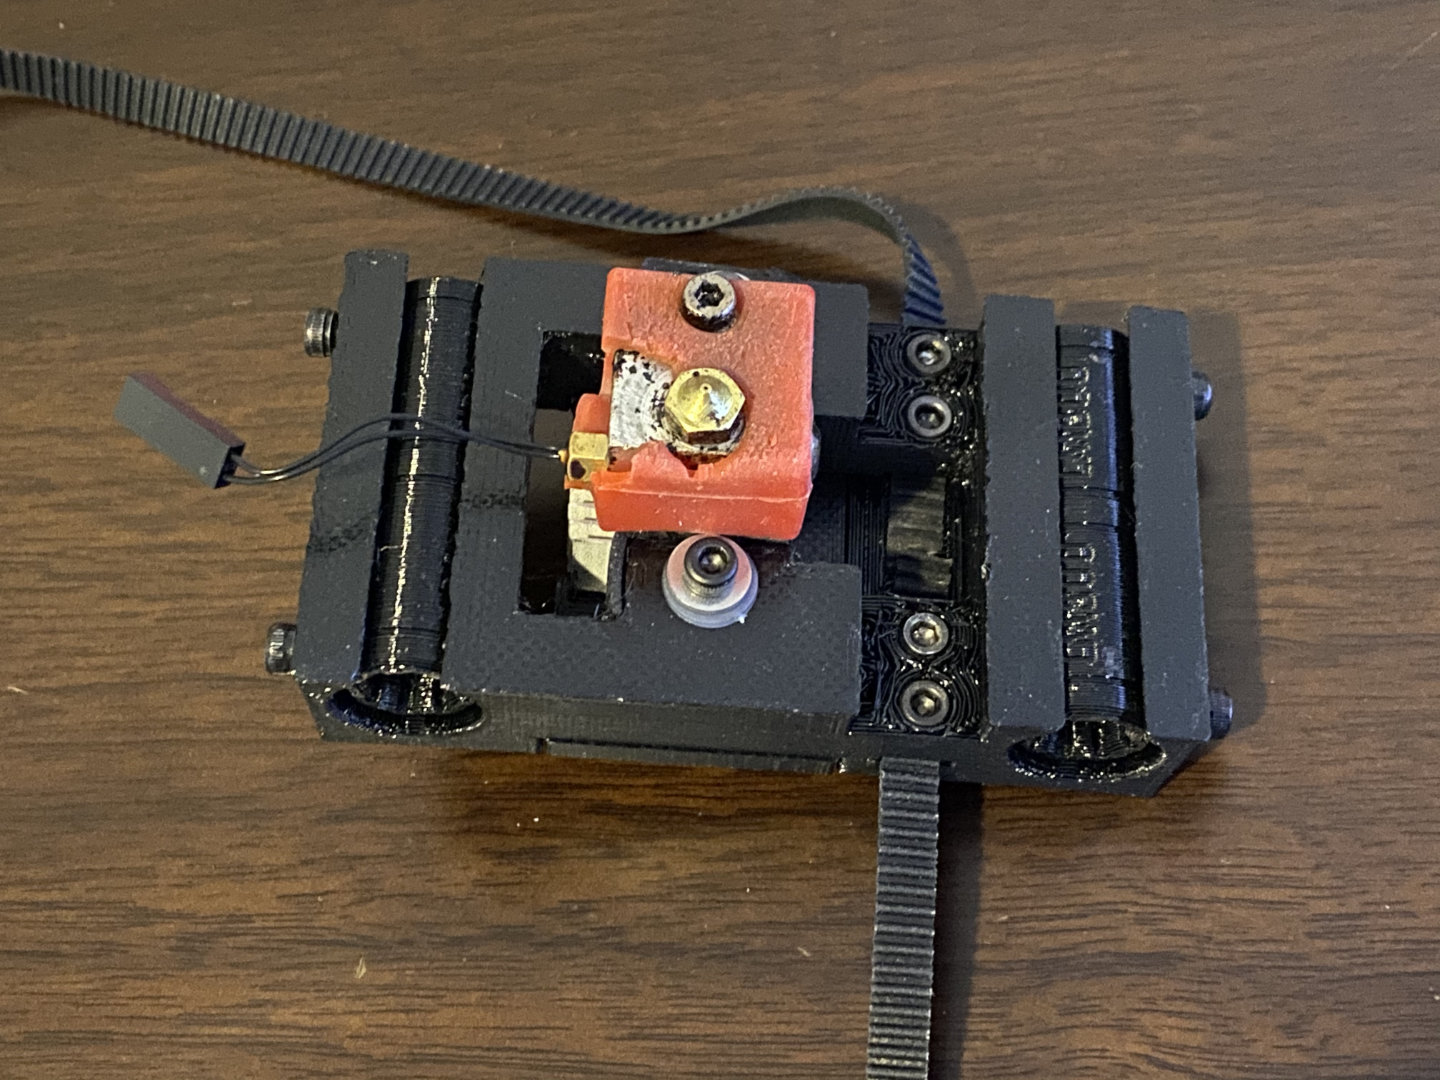 Insert the 39mm PTFE tube 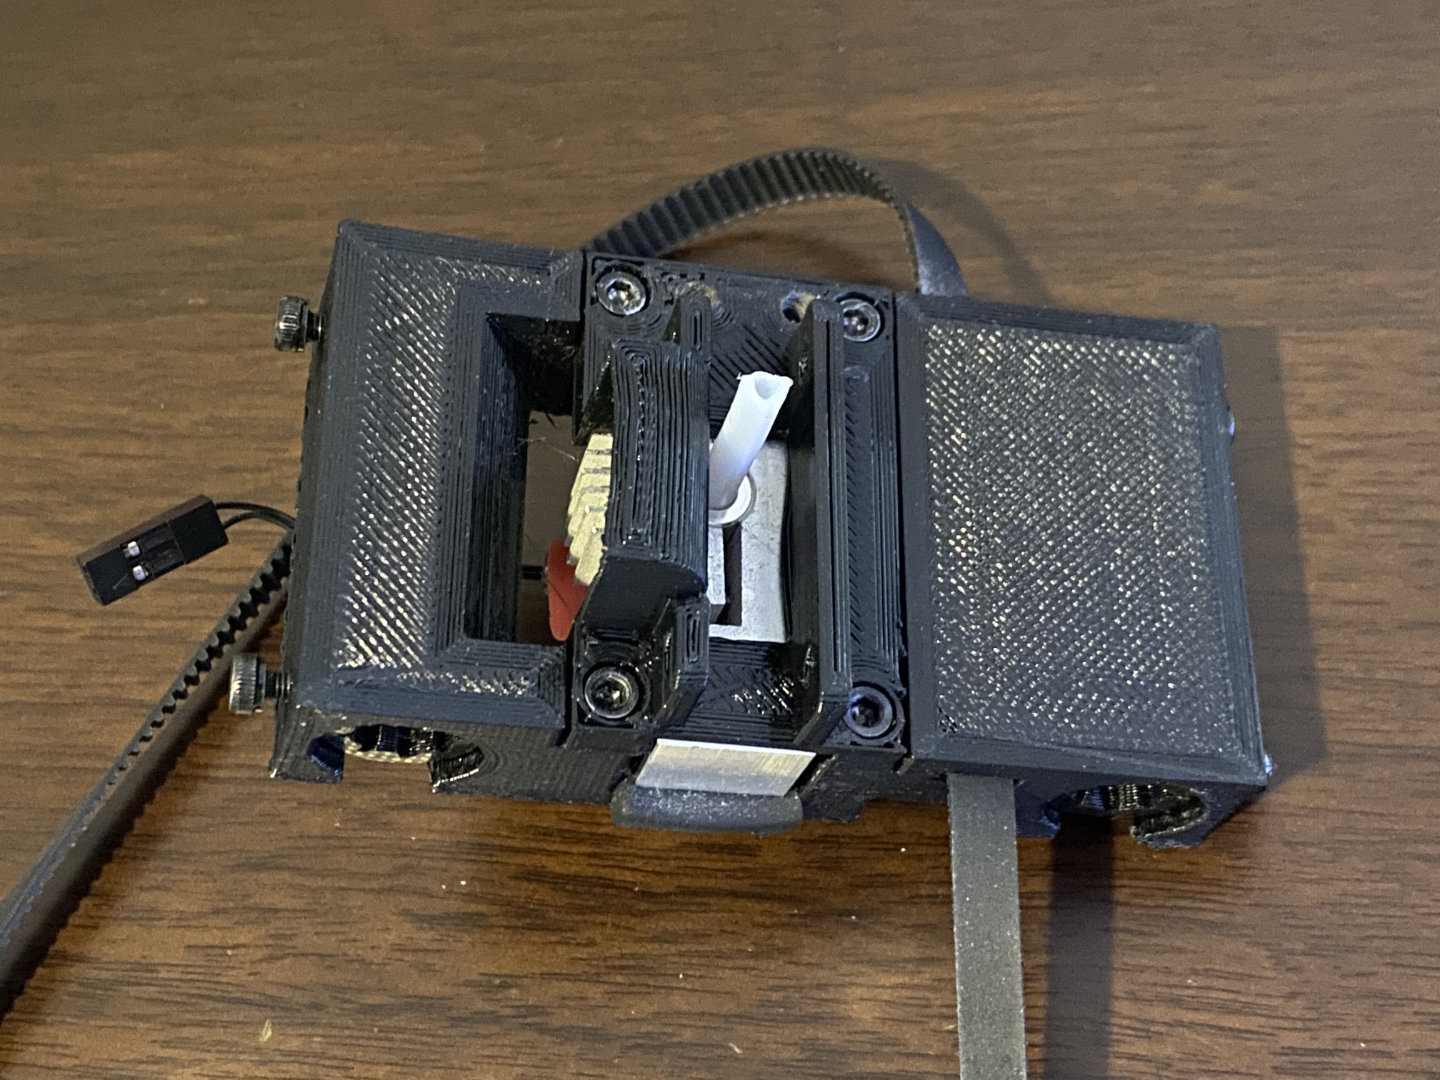 Install the fan and your extruder motor with the OEM screws, the remaining 2 10mm M3 screws are for the extruder fan which will need to be installed after you install the x-carriage on your printer.  Mount your X-Carriage on your printer. # **IMPORTANT** Make sure to check your z stop after installing the x-carriage you might need to change it by 2-4 mm this may vary but it is crucial you check your z stop and relevel your bed after installation. Any questions or comments let me know, I hope you enjoy this model and can now print some exotic filaments using a Flexion HT kit.
Statistics
Likes
0
Downloads
0